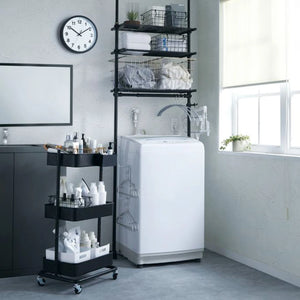
I tried to assemble it according to the instructions that came with the perforated board, but when I tried to put the shelf back in place at the final stage 9, the shelf wouldn't fit properly, probably because the whole N-Pordar was distorted when I attached the perforated board. I went back to step 6 and attached the shelves to the top and bottom shelves first, and then attached the board after fixing the distortion of the entire N-Polda. As this part is attached to the perforated board from behind with screws, you have to remove all the N-Polda tension rods and shelves, detach them from the wall, assemble them, and then reattach them to the wall. If you buy N-Polda and then think “I'd like to attach the perforated board, but I can add it later...” and then attach it later, you'll end up having to do it twice. It would have been much easier if I'd bought the punching board and connecting parts when I first assembled the N-Polda, and installed them all at once.


